How To Fit a Bike Helmet

If you’re reading this how-to article, congratulations! You’ve not only made a commitment to protecting your head by wearing a helmet, you also know that fitting a helmet makes all the difference. That’s right, the proper fit for a bike helmet ensures you get all the protection the lid can offer. It’s also worth noting that an improper fit can make things worse, exacerbating the results of an unfortunate impact. To make sure that doesn’t happen to you, let’s review what a good helmet fit looks like and cover some simple steps to find the perfect fit.
How Should a Bike Helmet Fit?
The helmet should fit snugly on your head, not too tight or too loose. You can test the fit by shaking your head. Ideally, the helmet shouldn’t move much in any direction. The straps should lie flat on your head, and the chin strap should have just enough slack under your chin so that when you open your mouth wide, you pull the helmet down tight against your head. Fortunately, it only takes a few steps to ensure your helmet is ready for your ride.
Step 1 - Find Your Helmet Size
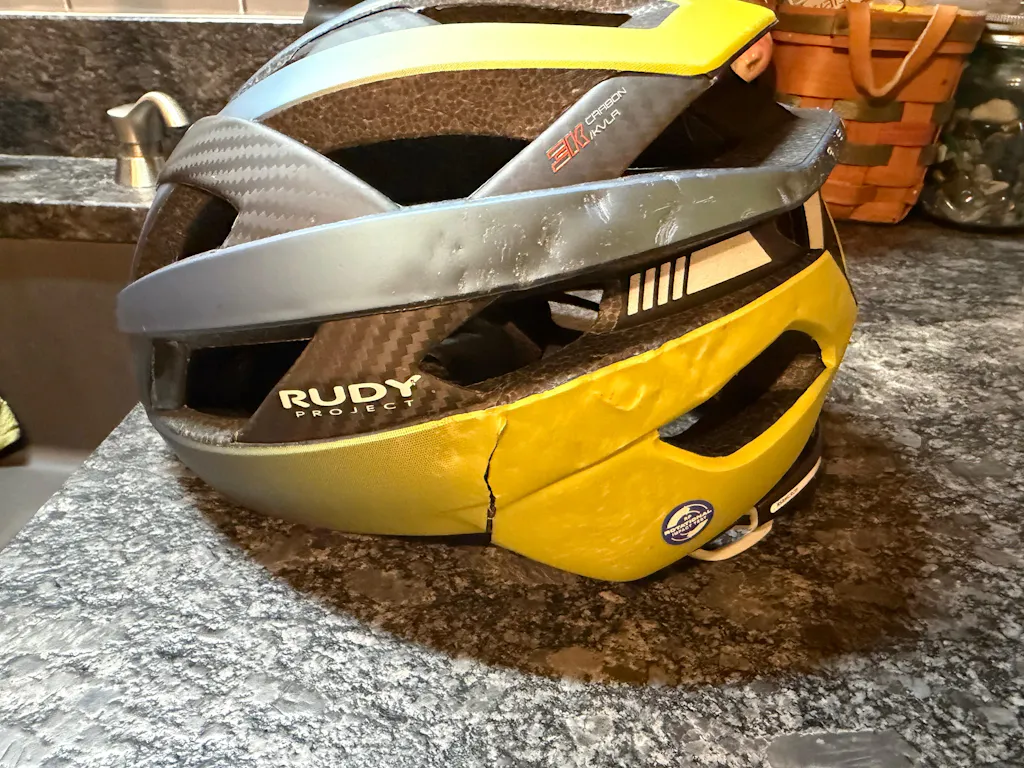
Take a tape measure and measure your head’s circumference, laying the tape across your forehead and just above your ears. With that measurement, you can find which size helmet you need under the “Size & Weight” specs for each Rudy Project helmet. Fall somewhere in the middle of two sizes? Go with the smaller helmet. If you’re in a bike shop, go ahead and try on the various sizes to find one that fits you best.
Step 2 - Dial In the Fit
Put the helmet on, making sure it’s level. The front of the helmet should rest on your forehead. At the back of the helmet, find the dial for the retention band. Twist the dial to tighten the band around your head until the helmet feels snug, but not tight, on your head. Note: Adjust the retention dial whenever you wear a cap or bandana underneath the helmet, or cut your hair substantially — like going from a full head of hair to a buzz cut.
Step 3 - Adjust the Straps
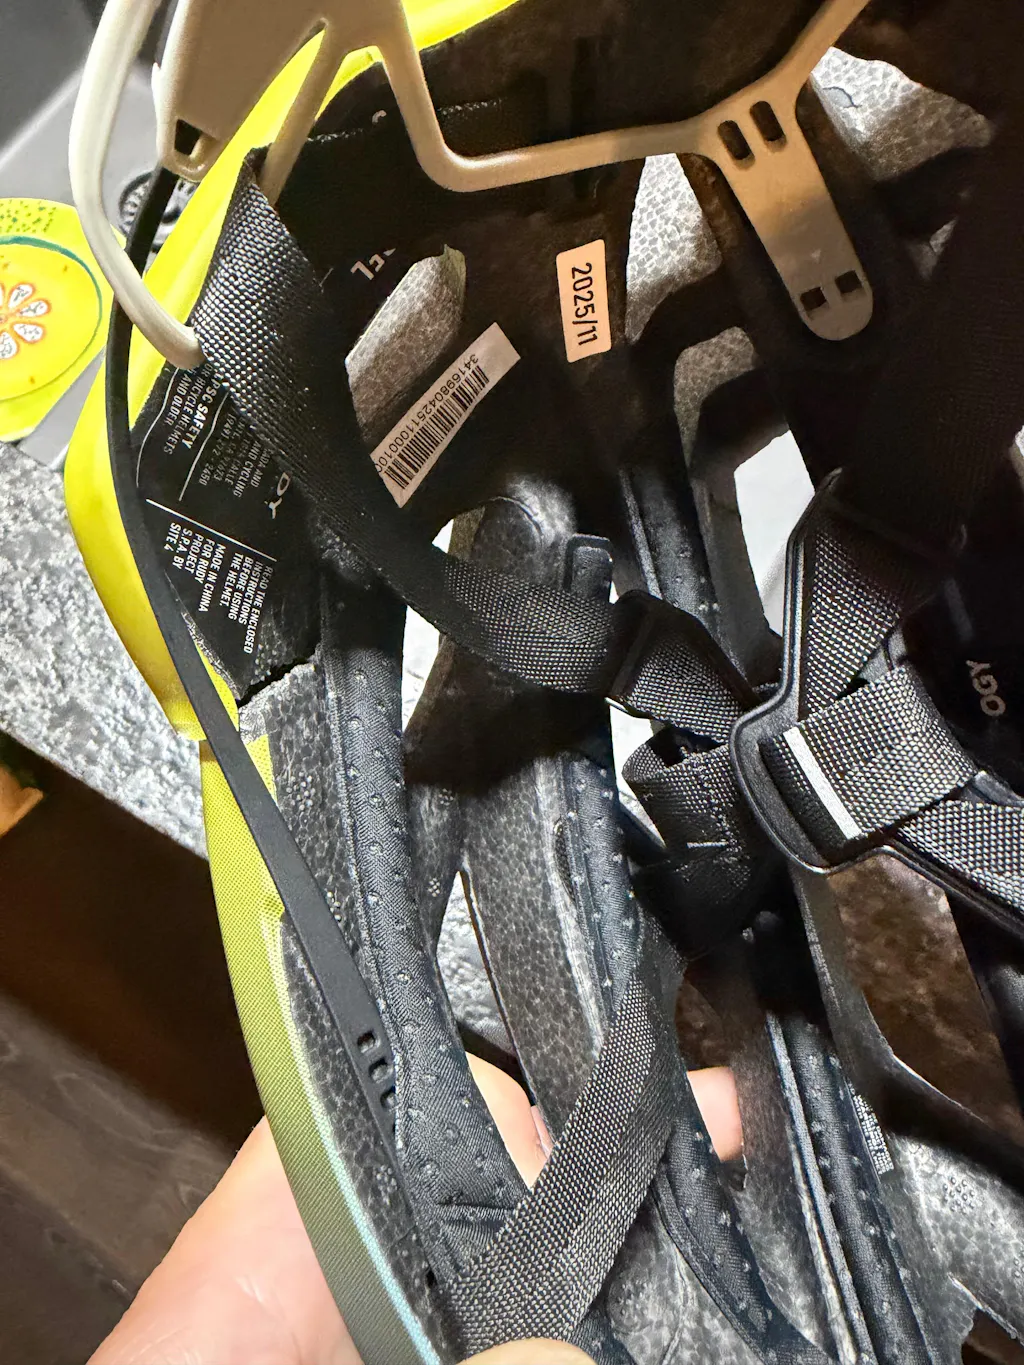
Starting with one ear, adjust the two side straps so that they come together just underneath your ear. Start with the rear strap, then adjust the strap in front of your ear. Both should lie flat against your head with no slack between the junction underneath your ear lobe and the helmet. Repeat with the other ear.
Step 4 - Fit the Chin Strap
Take out any slack in the strap between the “Y” junctions under each ear and the chin buckle. Then click the chin straps together and pull the excess through the buckle. Stop when there’s an index finger’s width between your skin and the strap. How do you know when the fit’s just right? When opening your mouth wide, the helmet should pull down tightly on your head. If you have extra strap length hanging off the buckle, secure it underneath the rubber band on the strap.
Step 5 - The Fit Check
When your helmet’s fitted correctly, you should see barely the front brim of the helmet when you look up. You shouldn’t be able to move the helmet off your forehead or forward over your eyes by more than an inch. If you can, the helmet is too loose.
Check your fit regularly; straps wear out and stretch over time. With Rudy Project’s Quick Strap Change feature on selected helmets, you can quickly replace worn straps and ensure that you always have the proper fit for optimal comfort and protection.